早在去年八月份PowerShell就开始开源跨平台了,但是一直没有去尝试,叫做PowerShell Core。这里打算简单介绍一下Ubuntu 16.04上如何安装和简单使用,为还不知道PowerShell Core on Ubuntu的同学们提供一点小小的入门帮助,谢谢大家支持~
PowerShell Core是由Microsoft开发的运行在.Net Core上的开源跨平台的任务自动化和配置管理系统。
1. 在Ubuntu 16.04上安装PowerShell Corea) 导入公共存储库GPG秘钥
curl https://packages.microsoft.com/keys/microsoft.asc | sudo apt-key add -
b) 注册微软Ubuntu存储库
curl https://packages.microsoft.com/config/ubuntu/16.04/prod.list | sudo tee /etc/apt/sources.list.d/microsoft.list
c) 更新软件包
sudo apt-get update
d) 安装PowerShell
sudo apt-get install -y powershell
2. 使用PowerShell Corea) 启动PowerShell并检查PowerShell版本:

b) 添加了一些集成变量,可以用来判断检查系统版本:

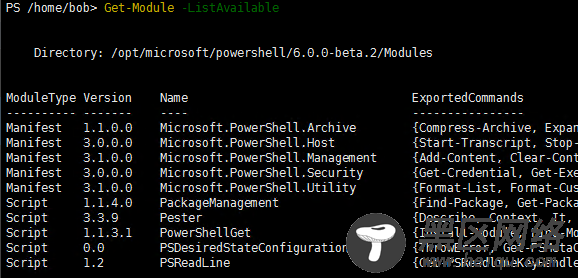
c) 获取可用的模块:
d) 利用管道:

e) 使用别名:
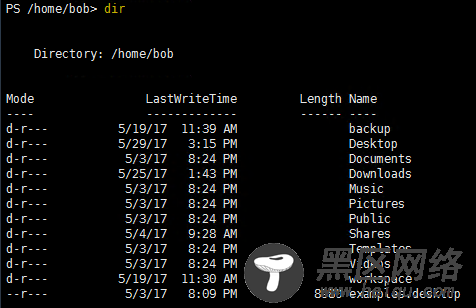
f) 使用.NET类库:
3. 基本命令对照表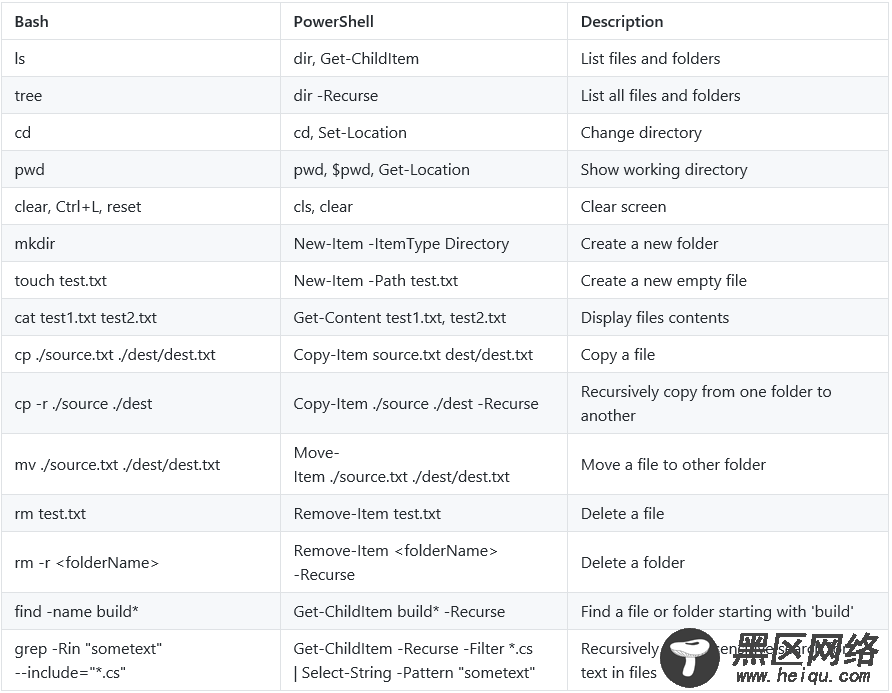
a) 大小写敏感
Windows是忽略大小写的,所以Windows上的PowerShell也是忽略的。然而Linux是大小写敏感的。因此Linux上的PowerShell一般情况下是忽略大小写的,但是一些操作系统级别的特殊值是大小写敏感的(比如一些环境变量的名字):

b) 别名
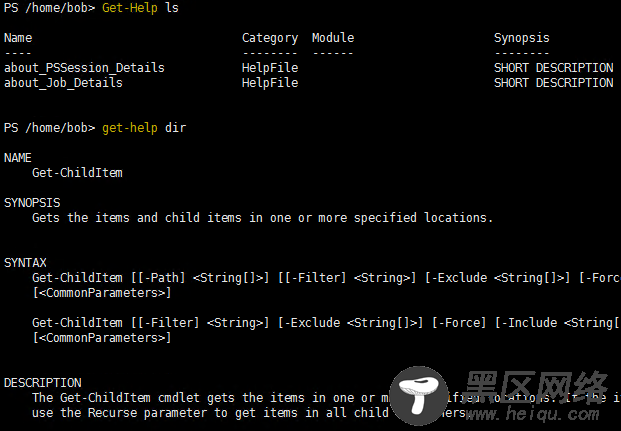
Windows上的PowerShell有一些Linux类型的别名,比如ls、cat、man、etc等,然而,这些别名在Linux上为了防止冲突已经不存在了,如下例子,ls在Windows PowerShell中也是Get-ChildItem的别名,而在Linux PowerShell Core中查不到:
a) 先安装Visual Studio:https://code.visualstudio.com/。
b) 添加PowerShell插件:
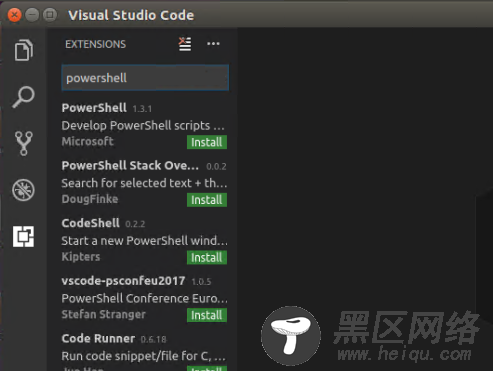
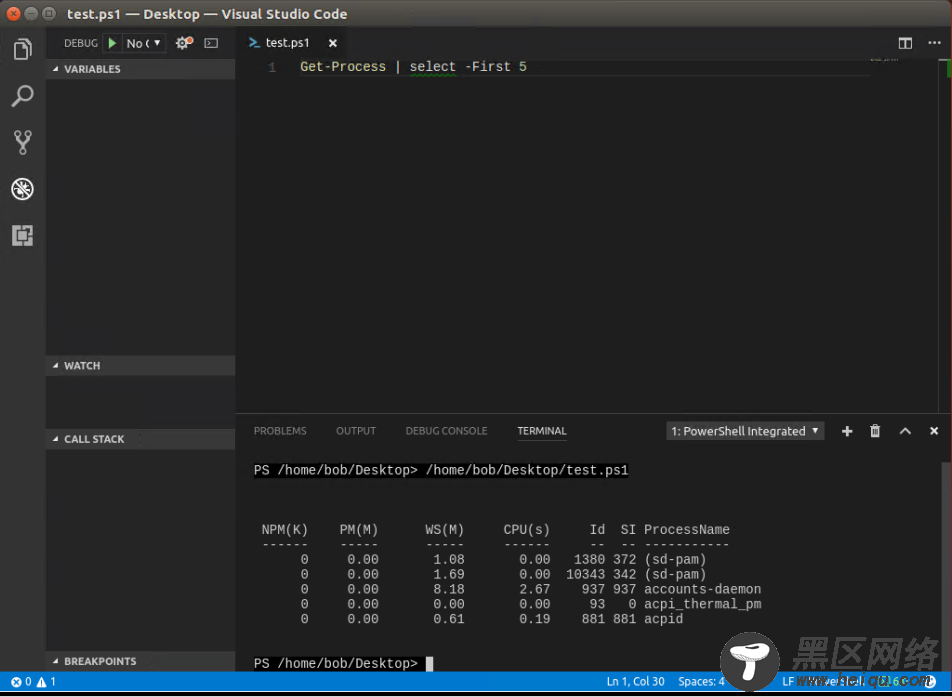
c) 现在使用这个编写PowerShell脚本就类似于Windows中的ISE了:
