
近期研发涉及到了图片的区域选择,找来一些资料一直不能很满意,所以自己实现了一个。
实现步骤如下。源码可以点击ImageAOI获取。
如下资料来自源码的README。
Qt >= 5.0
UsageDouble click to trigger the selector
Mouse scrolling t zoom in/out
ImageCropper
本工具的实现灵感来自ImageCropper。部分源码也做了参考,在此表示非常感。
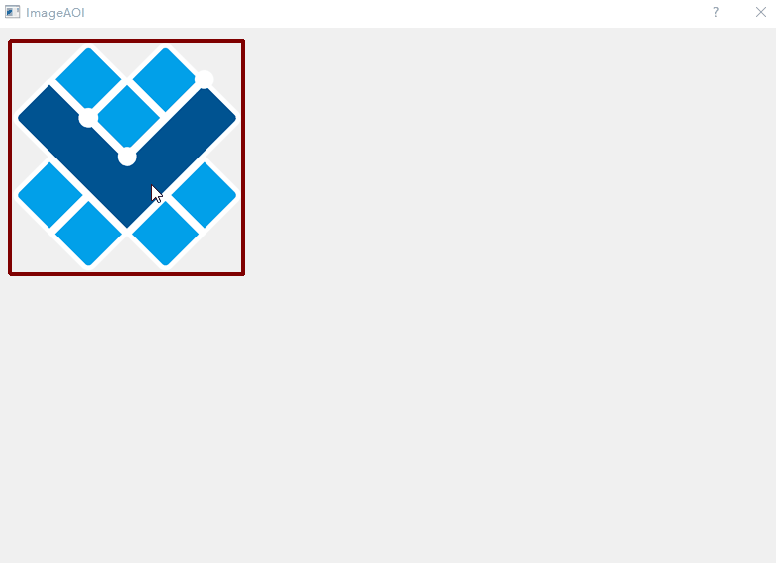
实现功能如上面图片所示,方面,快捷。操作起来很有快感。
实现步骤
1. 创建一个基于QLabel的类XLabel。注意需要引用#include <QLabel>。此段代码主要在xlabel.h文件中。
class XLabel : public QLabel { Q_OBJECT public: explicit XLabel(QWidget* parent = Q_NULLPTR, Qt::WindowFlags f = Qt::WindowFlags()); ~XLabel(); }注意 ·Q_OBJECT·必须不能忘记,否则无法顺利生成。
2. 加入所必须的一些临时变量。image是图片本身,需要载入。scale为缩放变量。selection_mode是用来决定是否显示区域的变量,双击图片区域激活或取消显示。
private: QImage image; float scale; // area selection bool selection_mode; QRectF croppingRect; bool mouse_pressed; QPoint start_mouse_pos; QRectF last_static_rect; CursorPosition cursor_pos; 3. 加入图片的鼠标事件和绘图事件函数。函数主要继承自QWidget。只有捕获到事件,才能顺利操作。
protected: virtual void mousePressEvent(QMouseEvent* event); virtual void mouseMoveEvent(QMouseEvent* event); virtual void mouseReleaseEvent(QMouseEvent* event); virtual void wheelEvent(QWheelEvent* e); // double click virtual void mouseDoubleClickEvent(QMouseEvent *event); void paintEvent(QPaintEvent* _event) override; 4. 实现事件函数。这里分为两部分,鼠标事件用于更新变量。绘图事件中变量的基础上,完成绘制和渲染。
鼠标事件如下
void XLabel::mousePressEvent(QMouseEvent* event) { if (Qt::LeftButton == event->button()) { mouse_pressed = true; start_mouse_pos = originPoint(event->pos()); last_static_rect = croppingRect; } updateCursorIcon(originPoint(event->pos())); } void XLabel::mouseMoveEvent(QMouseEvent* event) { auto origin_p = originPoint(event->pos()); if (!mouse_pressed) { cursor_pos = cursorPosition(croppingRect, origin_p); updateCursorIcon(origin_p); } else if (cursor_pos != CursorPositionUndefined) { QPointF mouseDelta; mouseDelta.setX(origin_p.x() - start_mouse_pos.x()); mouseDelta.setY(origin_p.y() - start_mouse_pos.y()); int dx = WIDGET_MINIMUM_SIZE.width() / 2; int dy = WIDGET_MINIMUM_SIZE.height() / 2; // if (cursor_pos != CursorPositionMiddle) { QRectF newGeometry = calculateGeometry( last_static_rect, cursor_pos, mouseDelta); if (!newGeometry.isNull()) { // boudary check if (newGeometry.x() < image.width() - dx && newGeometry.y () < image.height() - dy && newGeometry.width() + newGeometry.x() > dx && newGeometry.height() + newGeometry.y() > dy) { if (newGeometry.width() >= WIDGET_MINIMUM_SIZE.width() && newGeometry.height() >= WIDGET_MINIMUM_SIZE.height()) { croppingRect = newGeometry; } } } } else { auto new_pt = last_static_rect.topLeft() + mouseDelta; if (new_pt.x() < image.width() - dx && new_pt.y() < image.height() - dy && croppingRect.width() + new_pt.x() > dx && croppingRect.height() + new_pt.y() > dy) { croppingRect.moveTo(last_static_rect.topLeft() + mouseDelta); } } update(); } } void XLabel::mouseReleaseEvent(QMouseEvent* event) { mouse_pressed = false; updateCursorIcon(originPoint(event->pos())); // single-click signal //emit clicked(int(0.5 + event->x()/scale), int(0.5+event->y()/scale)); printf("[ %d, %d] \n", (int)event->x(), (int)event->y()); } void XLabel::wheelEvent(QWheelEvent * e) { int numDegrees = e->delta() / 8; int numSteps = numDegrees / 15; float k = numDegrees > 0 ? 1.09 : 0.90; k = k *scale; setScale(k ); } void XLabel::mouseDoubleClickEvent(QMouseEvent * event) { selection_mode = !selection_mode; update(); }绘图事件如下,核心的绘制都在此处。
void XLabel::paintEvent(QPaintEvent * _event) { QLabel::paintEvent(_event); if (image.isNull()) return; int width = image.width(); //printf("Selection: %d\n", (int)selection_mode); QPixmap rawImage = QPixmap::fromImage(image); QPainter widgetPainter; widgetPainter.begin(&rawImage); // Image boundary QRectF rect(2, 2, image.width()-4, image.height()-4); QPen pen0(Qt::darkRed); if (selection_mode) { pen0 = QPen(Qt::darkGreen); } pen0.setWidth(4); widgetPainter.setPen(pen0); widgetPainter.drawRect(rect); if (selection_mode) { if (croppingRect.isNull()) { const int width = image.width() / 2 - 4; const int height = image.height() / 2 - 4; croppingRect.setSize(QSize(width, height)); float x = (image.width() - croppingRect.width()) / 2-2; float y = (image.height() - croppingRect.height()) / 2-2; croppingRect.moveTo(x, y); } //qDebug() << "H: " << croppingRect.height(); // 1. bg color widgetPainter.setBrush(QBrush(QColor(0, 0x6f, 0, 120))); QPen pen; pen.setColor(Qt::yellow); pen.setWidth(2); widgetPainter.setPen(pen); widgetPainter.drawRect(croppingRect); // pos widgetPainter.setPen(Qt::red); QFont font; font.setPointSize(croppingRect.width() >240 ? 16 : 10); widgetPainter.setFont(font); auto tl = croppingRect.topLeft(); widgetPainter.drawText(QPoint(tl.x() + 6, tl.y() + 24), QString("(%1, %2, %3, %4)").arg(croppingRect.x()).arg(croppingRect.y())\ .arg(croppingRect.width()).arg(croppingRect.height())); // 2. corner boxes { widgetPainter.setPen(Qt::green); widgetPainter.setBrush(QBrush(Qt::white)); const int edgelen = 8; // Вспомогательные X координаты int leftXCoord = croppingRect.left() - edgelen/2+1; int centerXCoord = croppingRect.center().x() - edgelen / 2; int rightXCoord = croppingRect.right() - edgelen / 2+1; // Вспомогательные Y координаты int topYCoord = croppingRect.top() - edgelen / 2+1; int middleYCoord = croppingRect.center().y() - edgelen / 2; int bottomYCoord = croppingRect.bottom() - edgelen / 2+1; // const QSize pointSize(edgelen, edgelen); // QVector<QRect> points; points // левая сторона << QRect(QPoint(leftXCoord, topYCoord), pointSize) << QRect(QPoint(leftXCoord, middleYCoord), pointSize) << QRect(QPoint(leftXCoord, bottomYCoord), pointSize) // центр << QRect(QPoint(centerXCoord, topYCoord), pointSize) << QRect(QPoint(centerXCoord, middleYCoord), pointSize) << QRect(QPoint(centerXCoord, bottomYCoord), pointSize) // правая сторона << QRect(QPoint(rightXCoord, topYCoord), pointSize) << QRect(QPoint(rightXCoord, middleYCoord), pointSize) << QRect(QPoint(rightXCoord, bottomYCoord), pointSize); // widgetPainter.drawRects(points); } // 3. center dash lines { QPen dashPen(Qt::white); dashPen.setStyle(Qt::DashLine); widgetPainter.setPen(dashPen); widgetPainter.drawLine( QPoint(croppingRect.center().x(), croppingRect.top()), QPoint(croppingRect.center().x(), croppingRect.bottom())); // ... горизонтальная widgetPainter.drawLine( QPoint(croppingRect.left(), croppingRect.center().y()), QPoint(croppingRect.right(), croppingRect.center().y())); } } widgetPainter.end(); this->setPixmap(rawImage.scaledToWidth(scale*width)); } 4. 实现主函数,完成一个界面,测试此类是否可行。