
第一步:获取MySQL YUM源
进入mysql官网获取RPM包下载地址
https://dev.mysql.com/downloads/repo/yum/
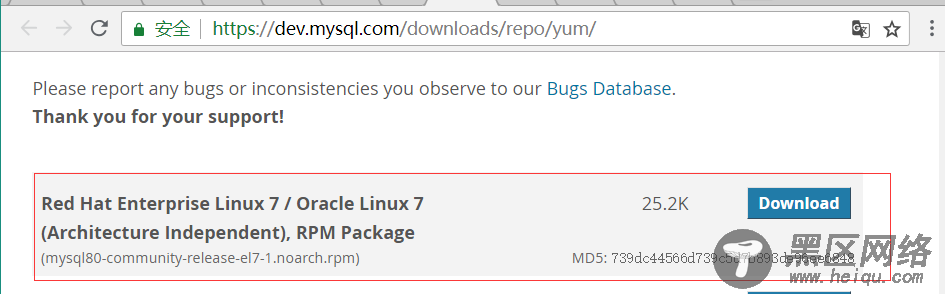
点击下载
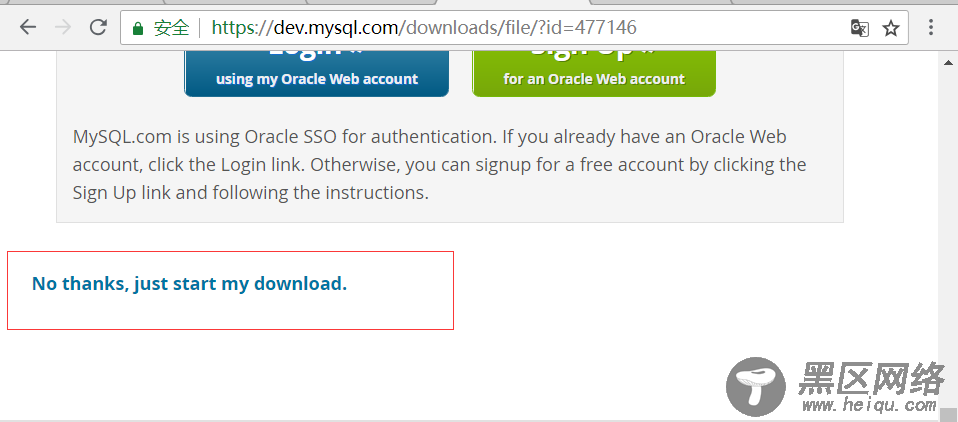
获取到下载链接:
https://repo.mysql.com//mysql80-community-release-el7-1.noarch.rpm
--------------------------------------------------------------------------------
第二步:下载和安装mysql源
•进入mysql文件夹,没有的自行创建
[root@VM_0_10_CentOS /]# cd /usr/local/mysql/
[root@VM_0_10_centos mysql]#
•下载源安装包
[root@VM_0_10_centos mysql]# wget https://repo.mysql.com//mysql80-community-release-el7-1.noarch.rpm
--2018-08-04 10:29:39-- https://repo.mysql.com//mysql80-community-release-el7-1.noarch.rpm
Resolving repo.mysql.com (repo.mysql.com)... 23.219.33.198
Connecting to repo.mysql.com (repo.mysql.com)|23.219.33.198|:443... connected.
HTTP request sent, awaiting response... 200 OK
Length: 25820 (25K) [application/x-RedHat-package-manager]
Saving to: ‘mysql80-community-release-el7-1.noarch.rpm’
100%[==========================================================================>] 25,820 112KB/s in 0.2s
2018-08-04 10:29:40 (112 KB/s) - ‘mysql80-community-release-el7-1.noarch.rpm’ saved [25820/25820]
[root@VM_0_10_centos mysql]# ll
total 28
-rw-r--r-- 1 root root 25820 Apr 18 13:24 mysql80-community-release-el7-1.noarch.rpm
[root@VM_0_10_centos mysql]#
•安装mysql源
[root@VM_0_10_centos mysql]# yum -y localinstall mysql80-community-release-el7-1.noarch.rpm
第三步:在线安装MySQL
[root@VM_0_10_centos mysql]# yum -y install mysql-community-server
下载东西比较多,等几分钟。
第四步:启动Mysql服务
[root@VM_0_10_centos mysql]# systemctl start mysqld
第五步:设置开机启动
[root@VM_0_10_centos mysql]# systemctl enable mysqld
[root@VM_0_10_centos mysql]# systemctl daemon-reload
第六步:修改root本地登录密码
mysql安装完成之后,在/var/log/mysqld.log文件中给root生成了一个临时的默认密码。用grep命令搜一下
[root@VM_0_10_centos mysql]# grep "A temporary password is generated for root@localhost" /var/log/mysqld.log
2018-08-02T02:19:55.829527Z 5 [Note] [MY-010454] [Server] A temporary password is generated for root@localhost: !J:KUwU9y0ZR
2018-08-02T04:49:34.979689Z 5 [Note] [MY-010454] [Server] A temporary password is generated for root@localhost: pw</s9,Wivm2
2018-08-04T02:40:46.781768Z 5 [Note] [MY-010454] [Server] A temporary password is generated for root@localhost: nNyK,Y)Wd0-G
[root@VM_0_10_centos mysql]#
这里有三条搜索结果,因为我重复装了3次MySQL,如果第一次安装是只会有一条的。
直接拿到临时默认密码 : nNyK,Y)Wd0-G
•登录MySQL
[root@VM_0_10_centos mysql]# mysql -uroot -p
Enter password:
Welcome to the MySQL monitor. Commands end with ; or \g.
Your MySQL connection id is 8
Server version: 8.0.12
Copyright (c) 2000, 2018, Oracle and/or its affiliates. All rights reserved.
Oracle is a registered trademark of Oracle Corporation and/or its
affiliates. Other names may be trademarks of their respective
owners.
Type 'help;' or '\h' for help. Type '\c' to clear the current input statement.
mysql>
•更改root账户临时密码
mysql> ALTER USER 'root'@'localhost' IDENTIFIED BY 'linuxidc@linuxidc.com';
Query OK, 0 rows affected (0.03 sec)
mysql>
linuxidc@linuxidc.com 请替换成你自己的密码。
(备注 mysql8.0默认密码策略要求密码必须是大小写字母数字特殊字母的组合,至少8位)
第七步:创建新用户、授权、远程登录(不要直接使用root账户登录)
•创建linuxidc-mp用户并且授权远程登录
mysql> CREATE USER 'linuxidc-mp'@'%' IDENTIFIED BY 'linuxidc@linuxidc.com';
Query OK, 0 rows affected (0.04 sec)
mysql> GRANT ALL ON *.* TO 'linuxidc-mp'@'%';
Query OK, 0 rows affected (0.03 sec)
mysql>
•在sqlyog客户端用linuxidc-mp账户登录(其他客户端也可以,随意)