ElasticSearch是一个基于Lucene的搜索服务器。它提供了一个分布式多用户能力的全文检索引擎,基于RESTful web接口。Elasticsearch是用Java开发的,并作为Apache许可条款下的开放源码发布,是当前流行的企业级搜索引擎。设计用于云计算中,能够达到实时搜索,稳定,可靠,快速,安装使用方便。
实验部署
1、实验所需组件及环境
1)JDK8以上环境
2)CentOS7.3,IP地址:192.168.144.112
3)elasticsearch6.3.2
es最新软件软件包可在官方网站下载:https://www.elastic.co/downloads/elasticsearch
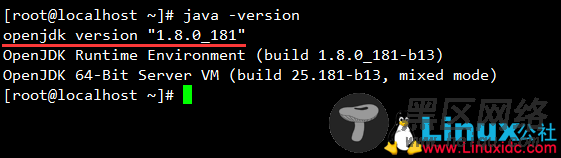
2、安装jdk8以上版本
yum install java -y
java -version 查看java版本
3、部署elasticsearch6.3.2
首先在官网当中下载es的软件包,本文采用压缩包解压缩安装方式启动服务。
值得注意的是,在es5.0版本后不支持与logstash和kibana2.x版本的混用,且安全级别的提升,使得es在后续的版本中不允许使用root用户启动,因此我们需要创建另外独立账户专供es使用。并且需要在root权限下将该特定环境准备好。
tar zxvf elasticsearch-6.3.2.tar.gz -C /opt/
创建独立用户与组(root用户下创建设定)
groupadd ela 创建ela组
useradd -g ela ela 创建ela用户,并且加入ela组
passwd ela 为ela用户设定登录密码
visudo(或者vim /etc/sudoers)

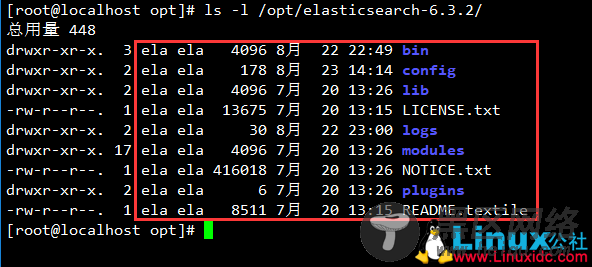
为了让ela用户拥有对elasticsearch执行权限,在root用户权限下解压后,需要将软件包更改属主属组。
chown -R ela.ela /opt/elasticsearch-6.3.2/
ls -l /opt/elasticsearch-6.3.2/
切换到ela用户,编辑配置文件,准备启动es
su ela
[ela@localhost ~]$ cd /opt/elasticsearch-6.3.2/config/
[ela@localhost config]$ sudo vim elasticsearch.yml
# ---------------------------------- Cluster -----------------------------------
#
# Use a descriptive name for your cluster:
#
cluster.name: abner //打开设定es群集名称
#
# ------------------------------------ Node ------------------------------------
#
# Use a descriptive name for the node:
#
node.name: node-1
//es当前节点名称,用于区分不同节点
#
# Add custom attributes to the node:
#
#node.attr.rack: r1
#
# ----------------------------------- Paths ------------------------------------
#
# Path to directory where to store the data (separate multiple locations by comma):
#
path.data: /data/es-data //修改数据目录,此目录为自定义,需要在root用户下创建,且属主属组更改为ela
#
# Path to log files:
#
path.logs: /var/log/elasticsearch //日志目录位置,需自己创建,方式同上
//yum安装则系统自定义,在软件版本或者系统升级时会被删除,所以建议修改
#
# ----------------------------------- Memory -----------------------------------
#
# Lock the memory on startup:
#
bootstrap.memory_lock: true //elasticsearch官网建议生产环境需要设置bootstrap.memory_lock: true
#
# Make sure that the heap size is set to about half the memory available
# on the system and that the owner of the process is allowed to use this
# limit.
#
# Elasticsearch performs poorly when the system is swapping the memory.
#
# ---------------------------------- Network -----------------------------------
#
# Set the bind address to a specific IP (IPv4 or IPv6):
#
network.host: 0.0.0.0 //监听访问地址为任意网段
#
# Set a custom port for HTTP:
#
http.port: 9200 //服务监听端口
#
编辑完成配置文件后,数据目录以及日志文件目录需要创建
sudo mkdir -p /data/es-data
sudo mkdir -p /var/log/elasticsearch
sudo chown -R ela.ela /data/
sudo chown -R ela.ela /var/log/elasticsearch
准备工作完成,启动es
[ela@localhost /]$ cd /opt/elasticsearch-6.3.2/bin/
[ela@localhost bin]$ ./elasticsearch 后面可以跟上-d后台执行
